
To paint your home interior in Melbourne, start by selecting the right paint and preparing your space. Ensure tools like rollers, brushes, and drop cloths are on hand.
Painting the interior of your home can refresh its appearance and add value to your property, especially in the bustling Melbourne market. Whether you’re looking to brighten up a single room or revamp your entire house, the key to a successful interior paint job is in the preparation and execution.
Gather your materials, choose your color palette with care, and don’t rush the process. Properly taping off edges, laying down protective coverings, and applying primer where necessary will lead to a professional-looking finish. Always ventilate the area well, and use quality paints that are suitable for the interior surfaces of your Melbourne home. With patience and attention to detail, you can achieve a fresh, new look that transforms your space.
Choosing The Right Paint Color
Finding the ideal paint color can transform your home. It breathes new life into any space.
Consider the Room’s Purpose
Consider The Room’s Purpose
Each room tells a different story. Select colors that match the function of the space.
- Bedrooms: go for calming colors like soft blues and greens.
- Living areas: warm neutrals encourage conversation.
- Home offices: consider energizing hues to boost productivity.
Evaluate the Lighting Conditions
Evaluate The Lighting Conditions
Lighting plays a key role. It affects how we see color.
|
Lighting Type |
Effect on Color |
|
Natural light: |
Shows the truest color. |
| Incandescent: |
Warmer tones look richer. |
|
Fluorescent: |
Cool tones can dominate. |
Test paint samples at different times of the day. Observe the changes in color.
Get Inspired by Trends
Get Inspired By Trends
Trends offer fresh ideas. But ensure they align with your style.
- Look at design magazines and websites.
- Visit home improvement stores.
- Explore popular color palettes.
Remember, your comfort with the color matters most. Your walls are your canvas. Make them unique.
Selecting The Necessary Tools And Materials
Get ready for a home makeover! Your Melbourne home deserves a splash of new color. Before the transformation begins, gather the right tools and materials. Create a checklist to ensure a smooth painting project.
Essential Painting Tools
Quality tools pave the way for professional-looking results.
- Paint Rollers – Smooth application on walls.
- Brushes – For edges and smaller areas.
- Paint Trays – Use with rollers for excess paint.
- Extension Poles – Reach high places safely.
- Painter’s Tape – Protect trim and ceilings.
- Drop Cloths – Keep floors and furniture clean.
- Ladder – Access high and hard-to-reach spots.
Types Of Paints And Finishes
Different spaces call for different paints and finishes.
|
Paint Type |
Best For |
Finish |
|
Water-Based |
Most walls and ceilings |
Satin to gloss |
|
Oil-Based |
Trim and mouldings |
Semi-gloss to high gloss |
|
Specialty Paints |
Bathrooms, kitchens |
Mildew-resistant finishes |
Preparation Materials
Preparation makes perfect! Protect your space and ensure smooth paint application.
- Sandpaper – Smooth the surface before you start.
- Primer – Essential for an even base.
- Filler – Fix holes and imperfections.
- Caulk – Seal gaps for a clean look.
- Cleaning Supplies – Dust and wash walls for the paint to adhere.
Prepping The Walls For Painting
Prepping the walls for painting is a vital step to ensure a smooth, professional result. Before you dip your brush in paint, take time to ready your interior walls. Proper preparation can make the difference between a painting job that looks like it’s been done by a Melbourne pro and one that falls flat.
Cleaning And Repairing
Spotless walls are the canvas for a perfect paint job. Start by removing dust, dirt, and grime:
- Use a damp cloth to wipe down the walls.
- For stubborn spots, a mild soapy solution works wonders.
- Address holes and cracks with spackle, smoothing it flat to dry.
- After it dries, brush off any excess with a clean cloth.
Sanding And Smoothing
The aim here is a silky-smooth surface. Once the spackle sets:
- Grab a medium-grit sandpaper.
- Gently sand over repaired spots to flatten any bumps.
- Wipe the walls again to clear all dust.
This leaves you with an ideal surface for the paint to adhere to.
Protecting Floors And Furniture
Last but not least, safeguard your non-paint zones:
- Drop cloths are best for floor protection. Lay them flat and secure the edges.
- Move furniture out of the room or to the center and cover it with plastic sheets.
- Use painter’s tape to shield baseboards, trim, and window frames.
This careful guarding ensures you keep the paint on the walls and off your treasures.
Understanding Color Schemes And Combinations
Embarking on a journey to transform your home with color is exciting. Before dabbing your brush in paint, let’s explore how to pick the perfect palette. Understanding color schemes and combinations is crucial in creating the desired mood and cohesion in your Melbourne home’s interior.
Monochromatic Schemes
Monochromatic schemes focus on a single color. Various shades, tints, and tones enhance depth and texture without overwhelming the space. Here’s how you can master a monochromatic interior:
- Start with your base color: Choose a hue that resonates with your style.
- Add variety: Use lighter and darker shades to bring contrast.
- Texture is key: Incorporate different materials to break any monotony.
Analogous And Complementary Colors
Analogous colors sit close to each other on the color wheel. They create harmonious designs with a natural flow. Complementary colors lie opposite each other, offering a bold contrast that pops. Here’s a simple guide:
|
Analogous Colors |
Complementary Colors |
|
Use three hues side by side |
Pick two opposite colors for impact |
|
Blend for a serene and comfortable space |
Use for a vibrant and energizing feel |
Triadic And Tetradic Schemes
Triadic color schemes involve three evenly spaced colors on the wheel. Tetradic schemes use two complementary pairs. These choices bring dynamic harmony to a room:
- Triadic: Pick three colors that form a triangle on the wheel.
- Balance: Choose one dominant color, the rest as accents.
- Tetradic: Form a rectangle on the wheel for color options.
- Even distribution: Ensure colors are used in the right proportions.
Priming The Surfaces For Paint
Embarking on a home interior painting project in Melbourne requires more than just choosing colours. The success of your project hinges on a crucial step: priming. Priming is the foundation that ensures your paint adheres properly and looks great for years. This step is essential, especially when dealing with Melbourne’s varying climate. Let’s dive into how to prepare your walls for a stunning transformation.
Importance Of Primer
A primer does more than just stick paint to the wall. It seals the surface, blocks stains, and creates a smooth, even base for the topcoat. Primer also helps to reduce the number of paint coats needed. For those in Melbourne, it’s a vital layer of protection against moisture and mould, which can be a challenge in the city’s coastal environment.
Types Of Primers
- Oil-Based Primers: Ideal for wood and surfaces with existing paint.
- Latex-Based Primers: Best for drywall and softwood.
- Shellac Primers: The go-to for spot-staining and odour-blocking.
- Specialty Primers: Specific solutions for unique surfaces and conditions.
Application Techniques
Right tools and methods are vital for priming. For an uneven surface, using a brush can work into the nooks. For smooth walls, rollers save time and create a consistent layer. Always start with clean, dry walls, and apply primer in even, overlapping strokes or rolls. Letting each coat dry utterly is key before the next layer of primer or paint goes on.
|
Surface Type |
Best Primer |
Application Tool |
|
Bare Wood |
Oil-Based Primer |
Brush or Roller |
|
Drywall |
Latex-Based Primer |
Roller |
|
Stained Area |
Shellac Primer |
Brush |
Applying Paint To Different Surface Types
When it’s time to give your home a fresh coat of paint, understanding how to tackle various surfaces is key. From the expansive walls to the nitty-gritty trim, each requires a unique approach. Ready to paint like a pro? Let’s explore the best practices for Melbourne’s most common interior surfaces.
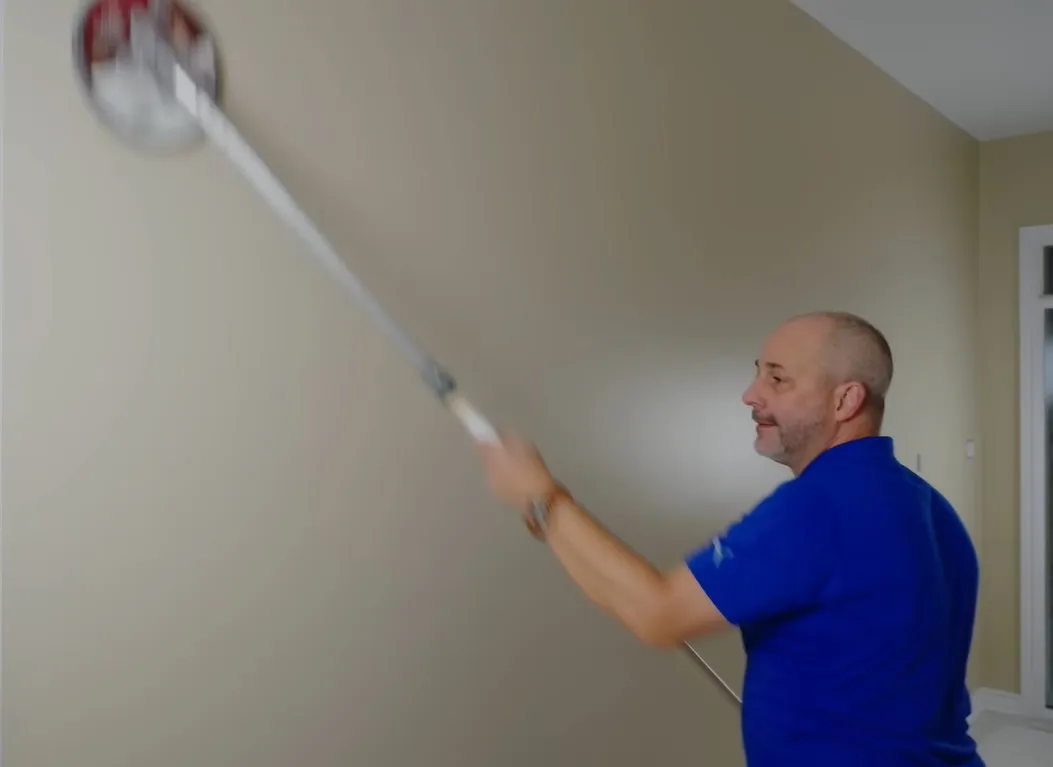
Walls And Ceilings
Prepare with a clean slate. Dust and wash them before you start. Use a high-quality primer for an even base. When painting, apply two coats for rich color. Use a roller for smooth walls and a brush for textured ones. For ceilings, a long-handled roller makes the job easier.
Trim and Baseboards
Trim And Baseboards
Choose a semi-gloss finish for these areas. It’s resistant to scuffs and easy to clean. Sand the surfaces lightly first. Apply painter’s tape to protect adjoining walls. Use an angled brush to reach tight spots. Be patient; precise strokes lead to a professional finish.
Doors and Windows
Doors And Windows
Doors and windows endure a lot of use. Opt for a durable paint. Remove any hardware before beginning. Sand down rough spots to avoid splinters. A small roller can cover flat areas quickly. Use a small brush for paneled doors and window frames. Let each coat dry fully before the next one.
With these tips, painting your home’s interior will lead to a stunning finish. Each surface type shines with a little know-how.
Mastering Painting Techniques
Welcome to your guide on Mastering Painting Techniques for a striking home interior makeover in Melbourne. With some know-how and the right tools, you’ll transform your space like a pro!
Cutting-in Method
Cutting-in is a painting essential, guaranteeing sharp lines where walls meet trims or ceilings. Follow these steps:
- Dip a two-inch angled brush into paint.
- Wipe off excess to avoid drips.
- Glide the brush along edges with steady, confident strokes.
Using Rollers And Brushes
Rollers and brushes work together for a flawless finish. Tips to use them are:
|
Rollers |
Brushes |
|
Cover large, open areas quickly. |
Ideal for edges and small spaces. |
| Roll in a ‘W’ pattern for even coverage. |
Brush in the direction of the grain. |
Creating Textured Finishes
Textured finishes add depth and interest. Achieve them with these guidelines:
- Select a specialty roller or brushes designed for texture.
- Mix texture compound with paint if required.
- Apply with varied strokes, experimenting with patterns.
Practice first on a spare board or sheet to perfect your technique.
Achieving Professional-quality Results
Turning your Melbourne home’s interior into a masterpiece is within reach. With the right approach, DIY enthusiasts can execute a paint job comparable to professional work. Attention to detail is key in getting that sleek, flawless finish. Below are essential tactics for stellar results.
Maintaining Consistent Coverage
Consistent coverage is crucial for a uniform look. Begin with a well-mixed paint. Stirring thoroughly avoids color variations. Use a roller with the right nap length — longer for textured walls, shorter for smooth. Dip the roller evenly, rolling excess paint off on the tray.
- Paint in sections, overlapping edges to dodge marks.
- Keep a wet edge; blend fresh paint with the previous section to prevent lines.
- Apply two coats, allowing proper drying time between them.
Minimizing Drips And Splatters
Drips and splatters can make a paint job messy. To minimize them, don’t overload the brush or roller. A steady hand and the correct amount of paint are a perfect pair for a clean job.
- Gently tap the brush’s edge against the can to remove excess.
- Roll paint slowly and smoothly.
- Cover floors and furniture with drop cloths.
Ensuring Clean Lines And Edges
Sharp lines and edges set professional jobs apart. Precision taping shields against wobbly lines.
Use quality painter’s tape — press down firmly for a secure seal.
Apply a thin base coat along the tape’s edge, matching the current wall color. This seals the edge to prevent the new color from bleeding under.
Remove the tape while the paint is slightly tacky to avoid chipping.
Adding Finishing Touches
Now that your home interior walls are freshly painted, it’s time to add character. The last strokes of your paintbrush can truly shape the personality of each room. Whether you aim for the whimsical touch of decorative painting techniques or the bold statement of a mural, these finishing touches are what make a house a home.
Decorative Painting Techniques
Decorative painting techniques bring walls to life. They add depth and texture to your Melbourne home. Let’s explore some popular options:
- Sponging creates a soft, textured finish that adds warmth.
- Strié, or dragging, can give the illusion of linen or silk.
- Rag rolling is perfect for a rustic, cozy vibe.
Experiment with colors and patterns. The result can be stunning.
Accent Walls And Murals
An accent wall can transform a room. Choosing a bold color for one wall creates a focal point. Consider these tips:
- Pick a wall without windows or doors for the best effect.
- Choose a color that complements the rest of the room.
- Use painters’ tape for clean, sharp edges.
Murals can tell a story or celebrate Melbourne’s culture. They require planning but are worth the effort.
Incorporating Wall Stencils
Wall stencils are a versatile way to introduce patterns. They’re great for DIYers and can be simple or intricate. Consider these steps:
- Choose a stencil that matches your interior theme.
- Secure the stencil with painter’s tape.
- Use a stencil brush for sharp designs.
With stencils, customizing your walls is fun and easy.
Addressing Common Painting Challenges
Transforming your home’s interior with a fresh coat of paint can breathe new life into your space. Yet, homeowners often encounter obstacles along the way. Below, some expert tips tackle these common painting challenges, ensuring a flawless finish for your Melbourne home.
Dealing With Uneven Surfaces
Uneven surfaces can hinder that perfect paint job. Here’s what to do:
- Clean the area: Remove dirt for better paint adherence.
- Sand the surface: Use fine-grit sandpaper to smooth out bumps.
- Apply primer: A quality primer fills small imperfections.
- Choose thick paint: Heavier paints help cover unevenness better.
Solving Paint Adhesion Issues
Paint not sticking? Solve it with these steps:
- Clean walls thoroughly: Oil or grease can prevent sticking.
- Sand glossy surfaces: Create a texture for the paint to grip.
- Use the right primer: A good primer ensures a sticky surface.
- Let surfaces dry: Paint needs a dry wall to adhere properly.
Fixing Paint Drying Problems
The Melbourne climate can affect paint drying. Here’s a quick fix:
|
Problem |
Solution |
|
High humidity |
Use a dehumidifier to speed up drying. |
|
Cold temperature |
Keep the room warm or paint in warmer weather. |
|
Thick paint |
Apply thinner coats for quicker drying times. |
Conclusion
Transforming your Melbourne home with a fresh coat of paint needn’t be daunting. With the right tools, colors, and techniques outlined in this post, you’re set to create a vibrant living space. Remember, patience and preparation are your best allies.
Dive into your interior painting project with confidence, knowing you’re fully equipped to brighten your residence with stylish elegance.